The Yummy Life may earn commissions from affiliate links in this post.
We have two camps of gravy lovers in my family: those who prefer traditional brown turkey gravy and those who prefer creamy turkey gravy. In previous posts, I shared my brown Best Turkey Gravy and also a Make-Ahead Turkey Gravy--both are low-calorie and tried-and-true after many years of making turkey dinners.
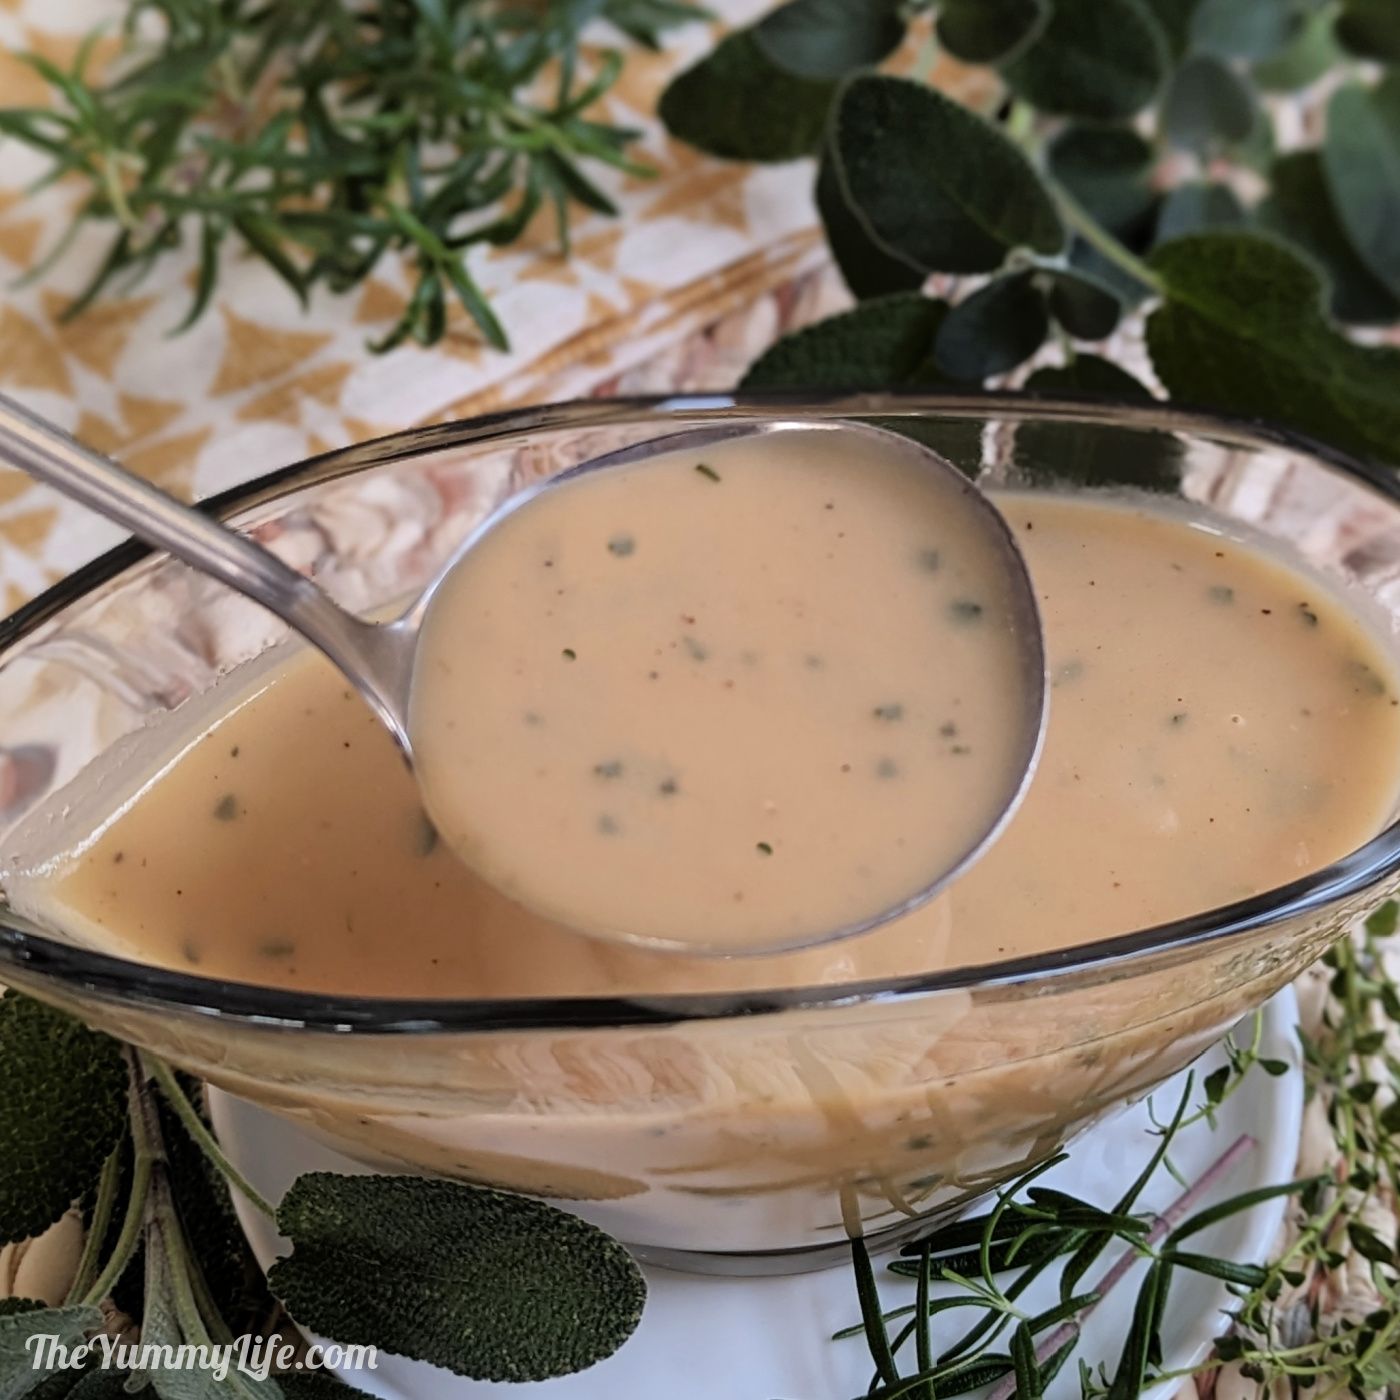
Today's recipe is for a richer, creamy turkey gravy that gets a flavor boost from fresh herbs. I served this last year, and it was a hit. Our family remains divided in the gravy wars, so I make both kinds now and serve it in two insulated pitchers to keep it warm at the table.
Here's how to make this flavorful gravy.
Step-by-step photos for making
Creamy Turkey Gravy
Step 1. Assemble the ingredients.
- drippings from a roasted turkey
- broth (homemade preferred, but good quality purchased broth works, too)
- all-purpose, unbleached white flour
- butter
- salt and pepper--I don't recommend adding the salt until the gravy is finished, because the roasted turkey drippings vary greatly in saltiness. Turkeys that are brined or injected with flavors may yield salty drippings. Taste the gravy before adding more salt.
- half-and-half--Or, substitute heavy cream for a richer gravy or whole milk for a lighter gravy.
- fresh herbs--sage, thyme, and rosemary

Step 2. Of course, you need to roast a turkey; the gravy's flavor comes from the drippings. For a fool-proof roasted turkey, check out my popular Step-by-Step Guide to The Best Roast Turkey. After roasting the turkey, remove it from the pan to rest. The drippings left behind in the roasting pan are used to make this gravy.

Step 3. Pour the drippings through a fine mesh strainer placed over a large bowl. Press with a rubber spatula to extract as much liquid and flavor as possible. The color of the drippings can range from light to dark; it all depends on how charred they get during the roasting process.
view on Amazon: mix-and-measure Pyrex bowl, wire mesh strainer

Step 4. Remove all or part of the fat from the drippings. Since butter is added to this gravy, I prefer to remove all of the turkey fat, but you can leave behind up to 2 tablespoons if you like. There are 3 easy ways to remove the fat:
- Use a grease separator like the one pictured below. This is the method I use; this handy gadget makes it so easy to remove all of the fat. Simply pour the drippings into the the grease separator, let it stand for a few minutes so the grease can rise to the top, pull the trigger in the handle, and the broth releases from the bottom. Release the trigger when the grease gets near the bottom of the grease separator. You are left with dark, flavorful, fat-free turkey drippings.
- Another option is simply to spoon as much of the fat off of the top of the drippings as possible--you can't get it all this way, but it will work well enough if you don't mind having some fat in your gravy.
- If you're making the turkey and gravy ahead to serve later, (check out my post How to Make Ahead and Reheat Turkey) chill the drippings in the fridge. As it cools, the turkey fat will harden and you can easily scrape it off of the top.
view on Amazon: grease separator

Step 5. After the fat has been removed, measure the drippings and, if needed, add enough chicken or turkey broth (store-bought or homemade) to have a total of 3 cups of liquid. Pour the stock into a saucepan on the stovetop.
view on Amazon: mix-and-measure Pyrex bowl

Step 6. In a saucepan (3-qt or larger), melt butter over medium heat. Sprinkle in flour and whisk until there are no visible dry bits; it will be clumpy. Whisk in the drippings/broth until lump-free. Add remaining broth 1 cup at a time, whisking until lump-free after each addition.
- view on Amazon: wire whisk

Step 7. Whisk in half-and-half (or cream or whole milk). Add pepper. Continue heating, whisking frequently to prevent scorching on the bottom of the pan, until steaming and thickened. Whisk in herbs. Taste and add salt, if needed.

Serve gravy in:
- regular gravy boat with a ladle
- insulated pitcher -- This is my favorite way to serve gravy. It keeps the gravy hot, is easy to pour, and looks nice on the table. I have two for serving two kinds of gravies!

Make-ahead tips: This gravy can be made ahead 2-3 days and reheated along with my Make-Ahead Turkey recipe.
Freeze it: You may also freeze the gravy for up to 3 months. Move it to the refrigerator to thaw the day before you need to reheat it. I freeze mine in pint mason jars.

This creamy, herby, flavorful gravy will be making a regular appearance on our Thanksgiving table. It's amazing drizzled over mashed potatoes, turkey, and dressing.

Make it a Yummy day!
Monica
- 4 tablespoons unsalted butter
- 1/2 cup unbleached all-purpose flour
- 3 cups roasted turkey drippings, strained (may supplement with broth/stock)
- 1 cup half-and-half*
- 1/4 teaspoon ground black pepper
- 2 teaspoons minced fresh sage
- 1 1/2 teaspoons minced fresh thyme
- 3/4 teaspoon minced fresh rosemary
- salt to taste
In saucepan (3-qt or larger), melt butter over medium heat. Sprinkle in flour and whisk until no visible dry bits; it will be clumpy. Whisk in 1 cup broth until lump-free. Add additional broth 1 cup at a time, whisking until lump-free after each addition. Whisk in half-and-half. Add pepper. Continue heating, whisking frequently to prevent scorching on bottom of pan, until steaming and thickened. Whisk in herbs. Taste and add salt, if needed.
MAKE-AHEAD TIPS: Gravy may be made 2-3 days ahead and refrigerated. Reheat over medium-low heat, whisking frequently to restore smooth consistency. If too thick, add milk or broth until desired consistency. MAY BE FROZEN up to 2 months. Move to refrigerator to thaw the day before reheating.
Serve this awesome gravy with these other yummy, holiday recipes:


 Print recipe
 Pin recipe on Pinterest
