A Mexican Buffet Dinner Party
Menu & recipes with make-ahead, set-up, & serving tips
The Yummy Life may earn commissions from affiliate links in this post.

I mentioned in my last post what a busy month it had been in my kitchen. King-Man and I hosted a series of dinner parties--18 to 30 people at each. The invited guests were his university colleagues. We scheduled 4 parties, one a week for 4 weeks. Unfortunately, I got sick on the day of the last party and we had to cancel it at the last minute. So I cooked for 4 parties, but we only held 3 of them. Thankfully, I didn't have to handle invitations and RSVPs. King-Man's super assistant, Terry, took care of that for us. (Thanks, Terry!)
We had different guests at each party, so I was able to replicate the same menu at each. That made it possible for me to mass produce some of the food and do lots of advance preparation and freezing. I learned a lot after making the same recipes multiple times and was able to fine tune the preparation. Each party got easier. I guess this is what it feels like to be a caterer.
Along the way, I took photos of the new recipes I made for these parties. Those recipes are shared in separate posts (find the links below). But, today's post is to give you the big picture and share some tips for hosting a party like this.
Here were my goals:
- A menu that was flexible to accommodate a variety of dietary preferences. The guests were a mix of nationalities, religions, vegetarian & meat eaters, and who knows what allergies or food intolerances. I didn't know a number of our guests and wanted to make sure I had something for everyone.
- A relaxed atmosphere where people could get acquainted. That was the real goal of these parties. So, no sit-down formal dinner. We wanted guests to walk around and visit.
- All of the food finished and ready for a self-serve buffet when the guests arrived. That way, King-Man and I were free to socialize with everyone and enjoy the party. I didn't want to spend the party in the kitchen refilling platters and preparing food.
- As much make-ahead food as possible to simplify and de-stress party preparations.
I'm happy to say that I think we accomplished all of these goals. Our guests seemed to have a good time, and so did we. I was glad I could refer them to The Yummy Life, because I got many requests for recipes.
This is a long post. I want to share as much detail as possible, in case you'd like to throw a similar party. Please feel free to ask questions in the comments section, if I've left anything out that you'd like to know. Here goes.
The Main (& Only) Course
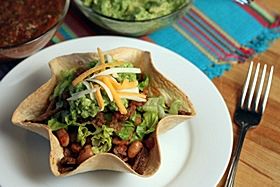
I set up a buffet with a variety of Mexican ingredients so guests could fill a tortilla bowl with whatever ingredients suited them. The result was something like this:
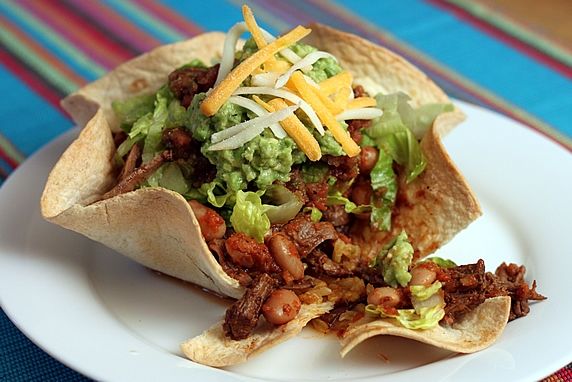
Tortilla bowls filled with typical taco ingredients could easily accommodate any diet restrictions of our guests. The tortilla bowls were easy to make, could be baked the day before, and were easy to serve since they didn't have to be warm. I've prepared similar buffets in the past where guests combined ingredients in warm soft tortillas, but those tortillas are harder to keep warm and fresh. These bowls were easier, and at the same time fun and different. (They taste good, too!)
Food Selection and Layout
I set up all of the food in our dining room and drinks in our kitchen. I rearranged the dining room for easier food access and better traffic flow. I put a long table against the wall where there were electric plugs to keep the chafing dishes warm. A small table in the center of the room was an easy place for guests to gather and snack. Desserts were on a sideboard at the end of the room (on the left--out of view in this photo). The food was arranged in a buffet line in a logical order for filling the tortilla bowls. Here's how the dining room looked:
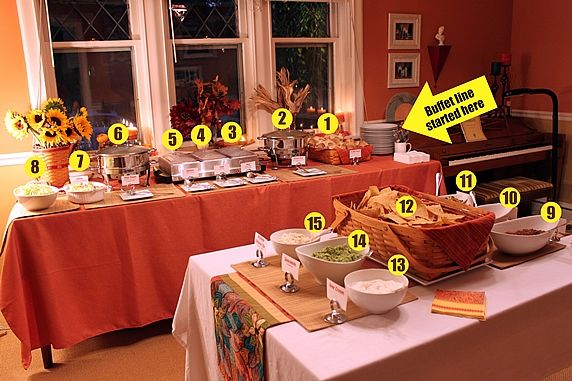
Key to photo above:
- Tortilla Bowls**
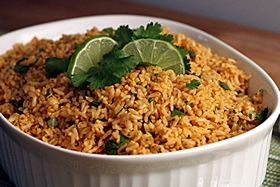
- Brown Rice with Cilantro and Lime OR Instant Pot Fiesta Rice**
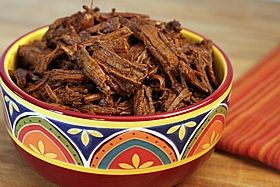
- Ropa Vieja Shredded Beef OR Instant Pot Mexican Shredded Beef**
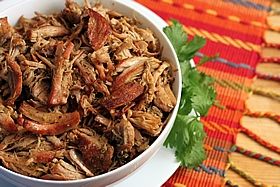
- Carnitas Shredded Pork**
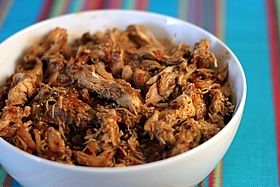
- Fiesta Salsa Shredded Chicken**
- Pinto Beans in Chili Sauce**
- Shredded Cheese
- Shredded Lettuce Greens
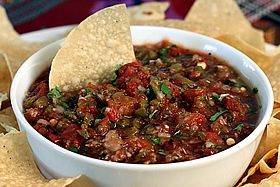
- Fast & Easy Fire Roasted Salsa - hot version**
- Fast & Easy Fire Roasted Salsa - medium version**
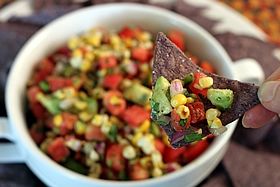
- Grilled Corn and Avocado Pico de Gallo**
- Tortilla Chips
- Sour Cream
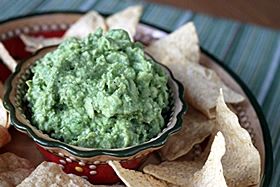
- Classic Guacamole**
- Artichoke and Jalapeno Dip
**recipe available on The Yummy Life; find the links below with photos of the specific recipes.
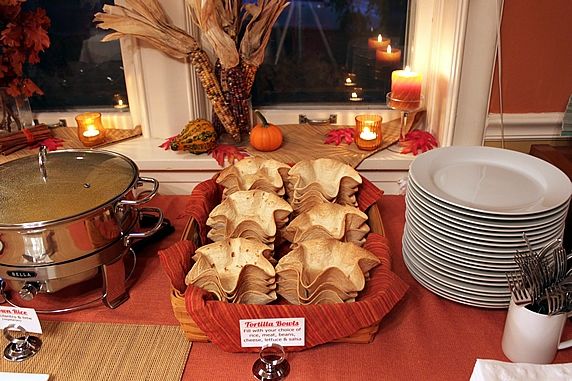
Here's a closer view. I put the plates next to the tortilla bowls at the beginning of the buffet line.
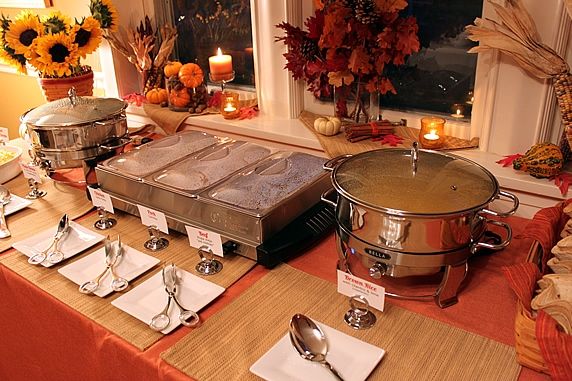
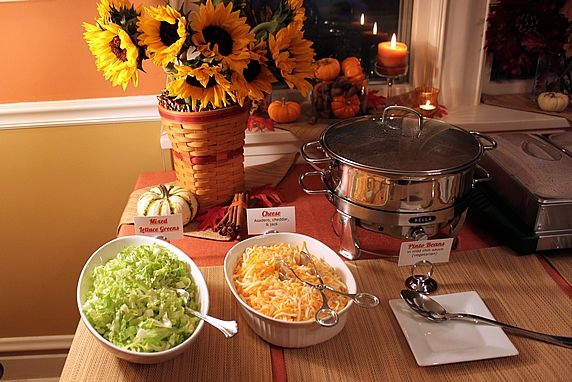
The rice was the first option to add to the tortilla bowl, then 3 meat choices, and then vegetarian chili beans.
The cheese and lettuce were at the end of the buffet table.
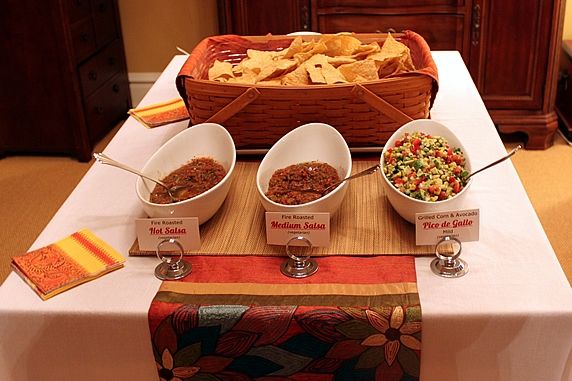
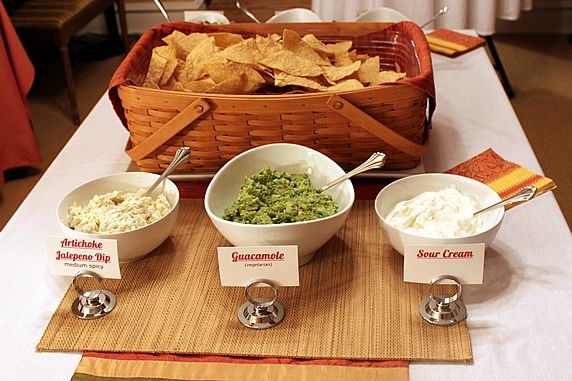
In the center of the room, there was a choice of salsas and toppings for the tortilla bowls. These all could also be eaten with the tortilla chips in the basket. (Since this post was written, I've also added queso dip to this table.)
Desserts
Here are the four desserts I prepared. I didn't make traditional Mexican desserts. Instead, I made desserts with a nod to Mexico by adding flavors of chiles, Kahlua, and Dulce de Leche. Pumpkin bars and pepita brittle doubled as seasonal fall desserts, along with their Mexican twist. The brownie bites were necessary, because there must be a chocolate option. MUST.
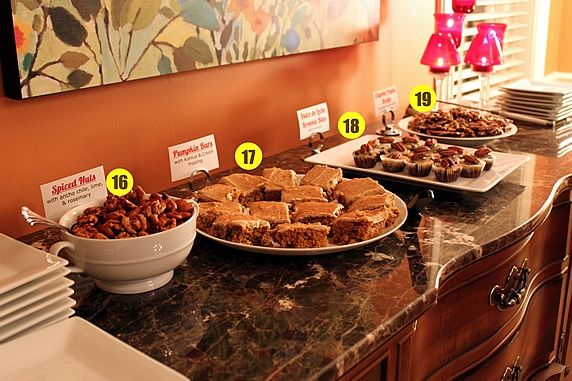
Key to desserts above:
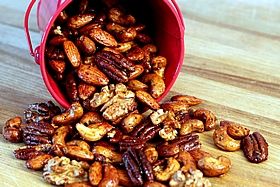
16. Spiced Nuts with Ancho Chile, Lime & Rosemary**
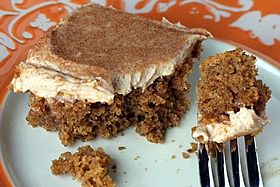
17. Pumpkin Bars with Kahlua & Cream Frosting**
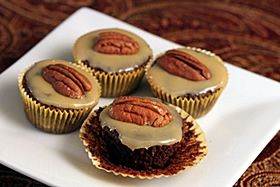
18. Dulce de Leche Brownie Bites**
19. Chipotle Pepita (Pumpkin Seed) Brittle**
**recipe available on The Yummy Life; find the links below with photos of the specific recipes.
Beverages
We set up drinks in our kitchen. I was going to take pictures of the room at our final party, and then it got cancelled when I got sick. Sorry. Only 2 photos of beverages. Here's what we served for drink options.
- Tubs of ice with a variety of beer, soda--in cans and bottles to keep it easy
- Wine--a variety of white and red
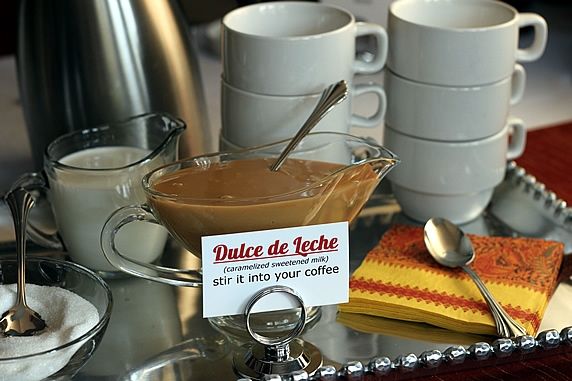
- Coffee with Dulce de Leche -- I've always drunk my coffee black, but this combo is a new favorite for a dessert coffee--to die for! (link to recipe below)
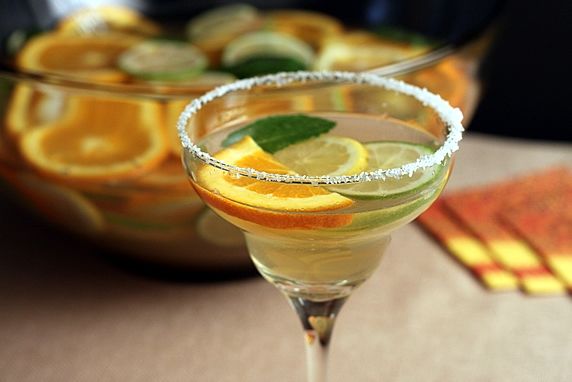
4. Sparkling Margarita Sangria Party Cocktails -- A big batch to mix up in a punch bowl. Also a new favorite. Yum! Easy and make-ahead. It lasts for days. It turned out to be good cold medicine--just look at all that vitamin C in the citrus! Really, really good cure for a cold. It made me feel better anyway...for whatever reason...
OR Make-Ahead Frozen Margaritas in individual mason jars.

Links to recipes (click on the photo to get there)
- Fast & Easy Fire Roasted Salad
- Grilled Corn & Avocado Pico de Gallo
- Simple Guacamole
- Queso Dip and Nacho Sauce
- Ropa Vieja Shredded Beef OR Instant Pot Mexican Shredded Beef
- Fiesta Salsa Shredded Chicken
- Carnitas Shredded Pork
- Pinto Beans in Chili Sauce
- Cilantro Lime Basmati Brown Rice OR Instant Pot Fiesta Rice
- How to Make Tortilla Bowls
- A Tortilla Bowl Taco Bar
- Spiced Nuts
- Pumpkin Bars with Kahlua & Cream Frosting
- Chipotle Pepita (Pumpkin Seed) Brittle
- Sparkling Margarita Sangria Party Cocktails -- a.k.a. my favorite cold medicine
- OR Make-Ahead Frozen Margaritas in Individual Mason Jars
Make Ahead Tips
One of the great things about this menu is that almost everything can be made ahead. That makes the day of the party so much more relaxed.
These items were made at least a week ahead:
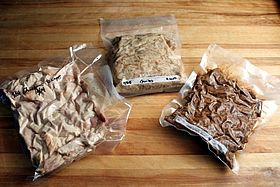
- The 3 meats: salsa chicken, carnitas pork, and ropa vieja beef. I used a Food Saver to vacuum seal them before putting them in the freezer. Any freezer bag or container would do. I moved these from freezer to fridge for thawing on the day before the party.
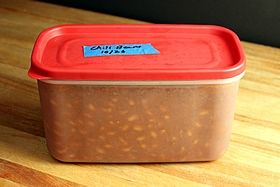
- Pinto Beans in Chili Sauce. I froze these in a plastic container and moved it to the fridge to thaw 2 days before the party.
view on Amazon: FoodSaver vacuum sealer
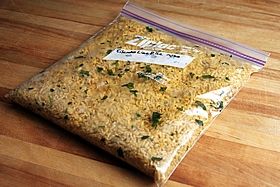
- Brown Rice with Cilantro and Lime AND/OR Instant Pot Fiesta Rice. I froze this in gallon size ziploc freezer bags and moved it to the fridge for thawing the day before the party.
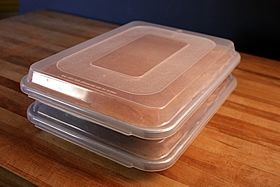
- Pumpkin Bars with Kahlua and Cream Frosting. These bars were baked in pans with domed lids that made the finished frosted bars easy to cover, stack, and freeze. A couple of hours before the party began, I removed them from the freezer, removed the lids, and let them thaw at room temperature.
view on Amazon: pans with domed lids
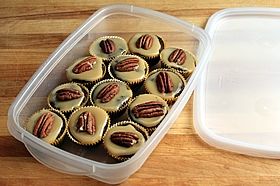
- Dulce de Leche Brownie Bites. These can be baked, frosted, and transferred to airtight plastic containers that can be stacked and frozen. A couple of hours before the party began, I removed them from the freezer (along with the pumpkin bars), removed the lids and let them to thaw at room temperature.
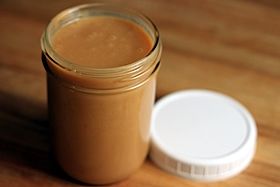
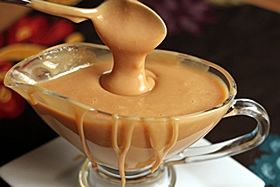
- Dulce de Leche. This can be made a week in advance and stored in an airtight jar or container in the fridge (not the freezer). Remove it from the fridge an hour before the party begins to bring it to room temperature; or it can be heated slightly uncovered in the microwave.
- Make-Ahead Frozen Margaritas in Individual Mason Jars. If you have the freezer space, these can be made up to a week ahead and are ready to serve at the party.

These items were made the day before the party.
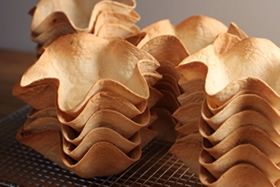
- The tortilla bowls can be baked a day ahead and stored at room temperature in 2 gallon ziploc bags or a large airtight plastic container. They lose their freshness after 2 days, so don't make them too far ahead.
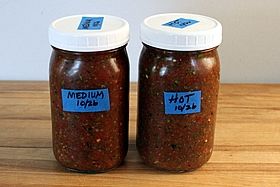
- Fast and Easy Fire Roasted Salsa. This is actually better if it's made a day or two ahead. I made 2 batches (medium & hot) and stored them in jars in the fridge.
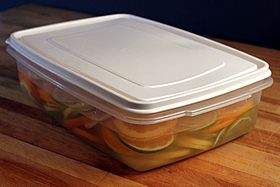
- Sparkling Margarita Sangria. Cut the fruit and get it marinating the day before the party. Just before the party begins, transfer it to a punch bowl and add the sparkling wine and lemon/lime soda.
These were the only items made on the day of the party. (They are best when freshly prepared.)
- Classic Guacamole
- Grilled Corn and Avocado Pico de Gallo (the corn can be grilled ahead of time and stored in the freezer or fridge)
- Wash and shred the lettuce
Not bad to only have these three easy items to prepare on the day of the party. Everything else can be made ahead and ready to heat and serve. This eliminates so much of the stress of throwing a big party.
How to heat food for a buffet and keep it warm
One of the challenges of feeding a big group is timing it so that all of the food is hot at the same time and stays hot throughout the party. It's also a challenge to reheat it and keep it warm without overcooking it. I did some googling to find tips for reheating all of this food I'd prepared ahead of time. I was particularly concerned about the shredded meats. I didn't want them to get overcooked to the point that their texture became mushy. I found a great source of information about FLASH HEATING from Lauren Costello at cdkitchen.com.
Shredded Beef, Chicken, and Pork -- Flash heated; how the pros reheat food without overcooking it
Turns out that flashing is commonly used by restaurant chefs. The concept is simple. Put room temperature food in shallow, covered pans, and put it in a 450 degree oven for 2-10 minutes. It heats the food fast (in a FLASH) without cooking it further.
This method doesn't work for reheating all foods (read cdkitchen for more details), but it turned out to be the perfect way to reheat the shredded beef, chicken, and pork for my buffet. I removed the 3 meats from the fridge and brought them to room temperature (approx. 30 minutes), then transferred them to the shallow pans that came with my buffet server, covered them with foil, and flash heated them for 10 minutes. Perfect and piping hot! They went directly from the oven to the heated buffet server.
Chili Beans --I put these in a pot and reheated them over medium heat on top of the stove for approx. 30 minutes. The hot beans were then transferred to a warmed chafing dish.
Rice -- Surprisingly, this is easiest and best when reheated in the microwave. I transferred the previously frozen bag of cooked rice to a covered microwave-safe bowl and microwaved it for 2 minutes. Stirred and microwaved 2 minutes more. Hot and ready to transfer to a warmed chafing dish.
Chafing dishes saved the day! These kept the food warm throughout the party. I filled them 15 minutes before the guests arrived. They were big enough that once filled, I never had to tend to them. This made the party maintenance free from beginning to end.
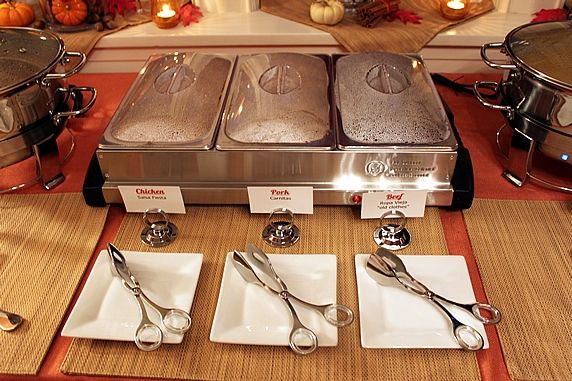
- I used an electric 3-section buffet warmer for the 3 meats. I kept the lids on until most of the guests had arrived, and then removed them for the remainder of the party so guests didn't have to lift lids and juggle with them while filling their plates. The food stayed plenty warm enough with the lids off. I set small serving tongs on a plate in front of each meat selection.
view on Amazon: buffet warmer/server, small serving tongs
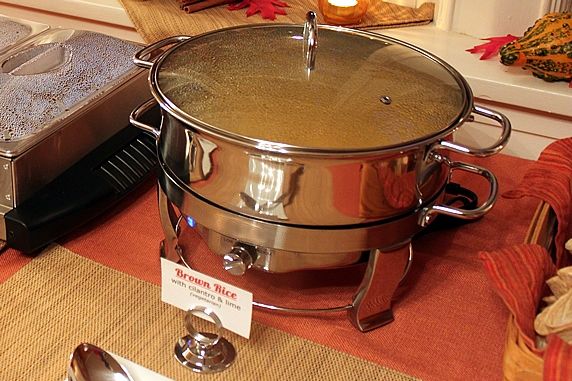
- I used larger round electric chafing dishes for the rice and beans.
view on Amazon: chafing dishes
Label everything for easy food selection
Our parties were big enough that I couldn't always be nearby to explain to guests which items were vegetarian, spicy, etc. Labeling everything solved that problem. Several guests expressed their thanks for this. I made a pdf of my menu cards, in case you'd like to see how I described each item.
These inexpensive place card holders worked perfectly for holding the menu cards.
- view on Amazon: place card holders
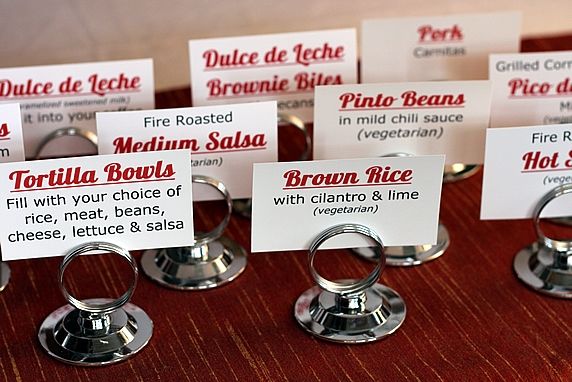
Avery makes perforated sheets for printing business cards that are the perfect size for making food labels for a buffet table. I used the easy template for creating business cards in Microsoft Word, or you can go to the Avery website. They feed easily into your printer.
- view on Amazon: Avery Business Cards
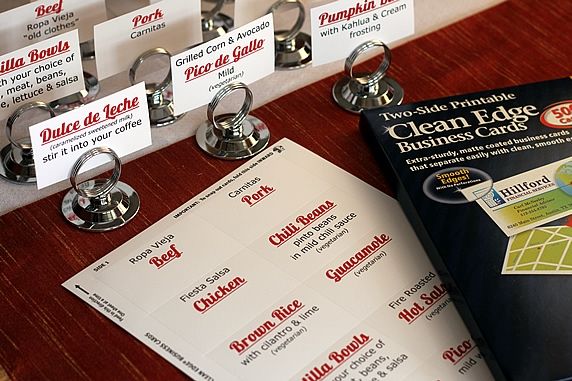
Another benefit of making the food labels is that you can set them all out ahead of time and figure out exactly where all of the food will be placed. When it's time to fill bowls and dishes, there are no decisions to make--just read the labels, and that's where it goes. I set out the labeled empty bowls matched with serving utensils at their assigned place ahead of time. When it was party time, it was great not to be scrambling around for anything--it was already figured out and in place.
Decorations
Because we had these parties in October and November and I'd already decorated our house for fall, I just stuck with an autumn theme for decorating. (See my previous post about easy fall decorations.) However, if we had this menu at a different time of year, I would have Mexican themed decorations.
Stand-up Event Tables
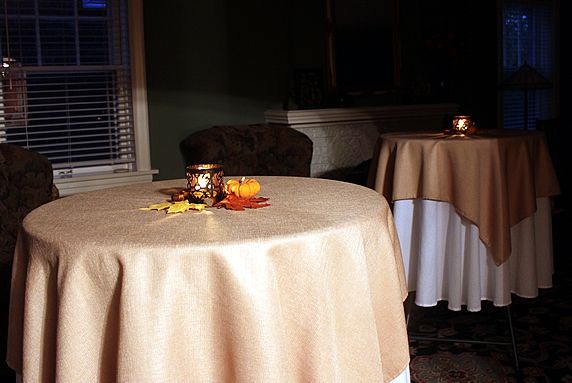
I mentioned earlier that we wanted this party to be informal and encourage people to walk around and get acquainted. So we didn't want tables and chairs that would encourage people to sit and stay put. Yet, we didn't want guests to be frustrated trying to juggle plates and glasses with no place to set them. These stand-up tables were the perfect solution. Guests stood around them as they ate, but also moved around and visited. We had 1 in our dining room and 3 in our living room. I looked into renting cocktail tables, but it turned out to be considerably less expensive to purchase these tables. And, now we'll have them for future parties. They fold up compactly for easy storage, too. (The tables were available at a local Sams, but I found a better price on Amazon.)
- view on Amazon: fold-up bar height event tables
Whew! This just may be my longest post ever. Thanks for hangin' in there with me.
Make it a Yummy day!
Monica
You might also like this easy crowd-pleaser:








 Pin on Pinterest