DIY Wedding Rehearsal Dinner Centerpieces
Personalized with photos and monogrammed beer mugs

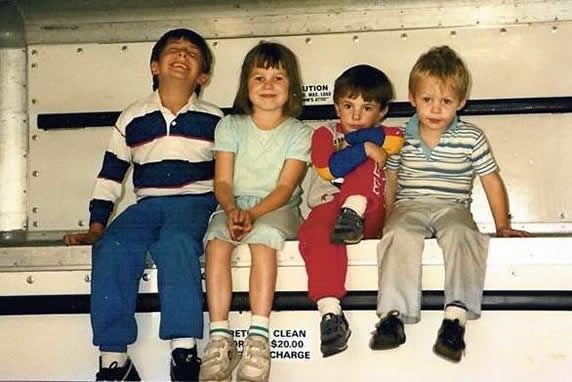
This past weekend was another sentimental journey for King-Man and me. Son T-Man, son Brackenthebox, and daughter-in-law Rachel were in St. Louis for the 4th of July weekend to attend the wedding of Chris and Jillian, now newlyweds. We've known Chris since he was 2 years old. Chris, sister Becca, and parents Steve and Sandy have been our close friends and neighbors since 1989. We've gone on family vacations together and celebrated many holidays and milestones through the years. Here's one of my earliest photos of our four kids together. They were playing in the back of a U-Haul truck that we'd rented for moving some furniture. I remember it like it was yesterday; but it was actually 22 years ago. Oh my.
(pictured l-r, Brackenthebox, Becca, T-Man, and Chris in 1989).
Chris and Jillian started dating when he was a sophomore in college. We all fell in love with Jillian immediately, and were thrilled to see this special young couple marry on Saturday. I was teary through the entire ceremony. Couldn't help it. Such a sentimental, beautiful day for our family and dear friends.
Rehearsal Dinner
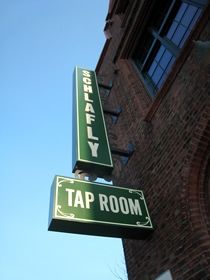
The night before the wedding, I took care of the decorating for the rehearsal dinner. It took place at the SchlaflyTap Room. Schlafly's is a favorite local brewery, and they have a great restaurant with a party room in a historic building in downtown St. Louis.

Monogrammed mugs for centerpieces and gifts
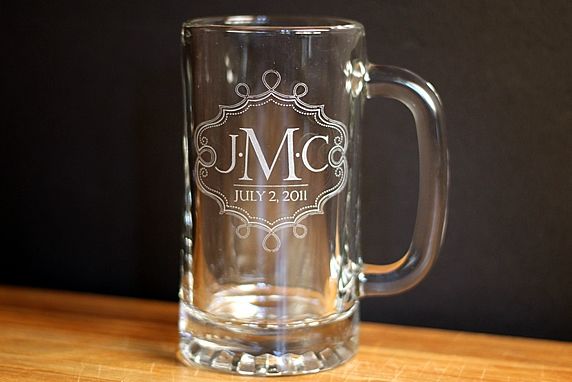
In keeping with the brewery theme, beer mugs were the perfect base for table centerpieces. Sandy (the groom's mom) ordered these awesome mugs online from GlassWithATwist.com She ordered enough mugs for making 6 centerpieces and to give to each of the 50 guests at the rehearsal dinner. She also ordered extra mugs so that Chris and Jillian would have a full set to take home. Sandy asked family friend and artist Traci of Traci Moore Graphics to design a monogram for Chris and Jillian to have sandblasted onto the mugs. Traci's beautiful design was uploaded to the mug website, and the finished mugs arrived a few days later. We were impressed with the prompt service and quality of the mugs.
Making the centerpieces, step-by-step
The wedding colors were raspberry, orange, and yellow--fun! I was asked not to use fresh flowers for the centerpieces--those were being saved for the wedding and reception the next day. The arrangements needed to be casual and fun, in keeping with the location and theme of the rehearsal dinner.
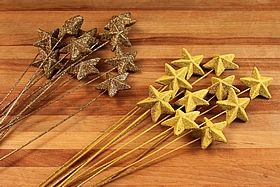
I had a hard time finding items in their wedding colors to use in the centerpieces, so I decided to spray paint some red heart and gold star shapes I found at a party supply store.

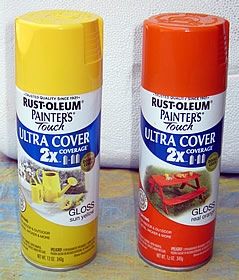
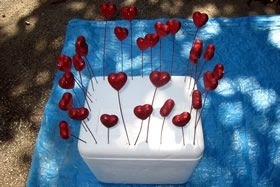
I stuck the red hearts into an old styro foam cooler, so they'd stay upright while I spray painted them. They were quickly transformed into orange hearts.

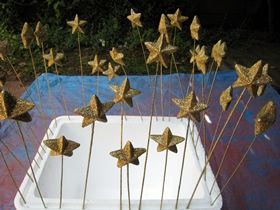
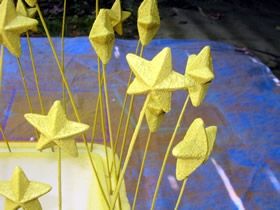
The metallic gold stars became yellow stars.
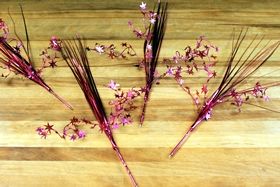
I also found these metallic raspberry colored star sprays--the final touch needed to incorporate all 3 wedding colors.
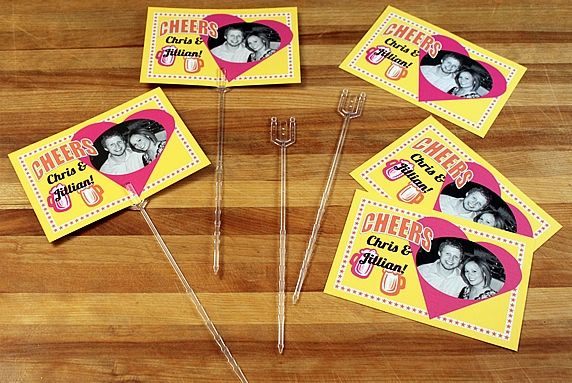
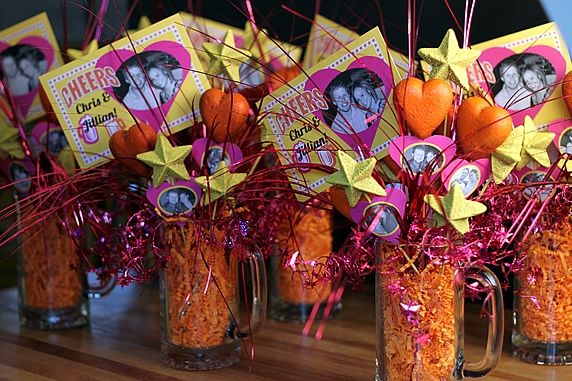
Next, I used my computer to create these 4x6" toppers for the centerpieces. I used Microsoft Publisher software to make these and printed them onto cardstock. The same image was printed on both sides of the cardstock so that they could be viewed from both sides of the centerpieces that would sit in the middle of round tables.

The cards were inserted into these floral picks to make them easy to add to the centerpieces.
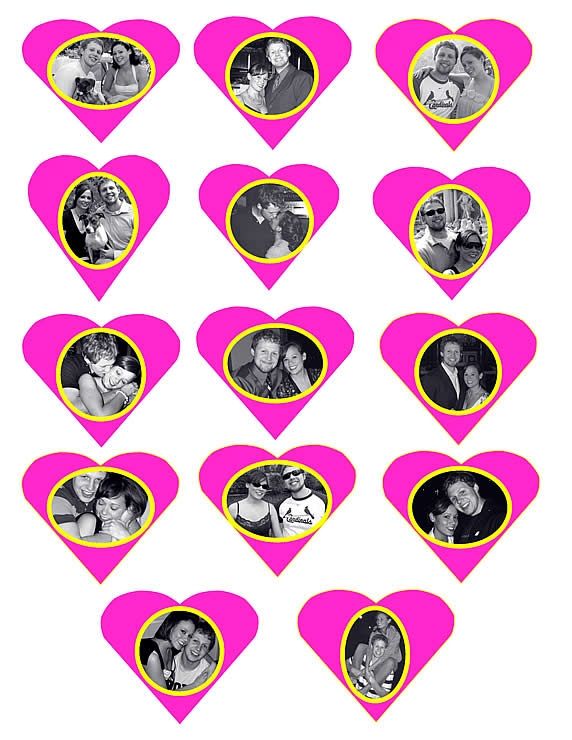
I like to incorporate photos into centerpieces for sentimental occasions like this. (See my previous posts about using photos for 60th birthday centerpieces and Becca's Baby Shower centerpieces.) Sandy provided me with a collection of photos of Chris and Jillian through the years of their courtship. I converted them all to black and white and gave them a yellow border and raspberry heart background. Color photos would have been overpowered by all of the bright colors in the centerpiece. Converting the photos to black and white made them stand out more and gave the centerpieces a more unified appearance.
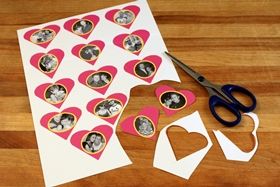
I printed the heart photos on card stock and cut them out with scissors. Then I used tape to attach them to the back of some of the painted stars and hearts.

A total of 5-6 heart photos were used in each centerpiece, plus additional hearts and stars without photos attached.
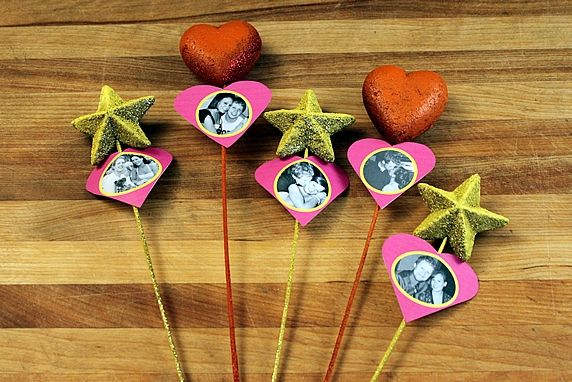
Time to assemble the centerpieces.
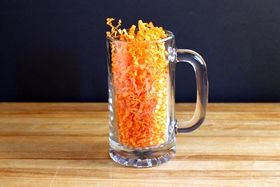
First, I filled the mugs with orange paper shreds (find them in a variety of colors in the party & gift wrap section of stores). The paper shreds are both decorative and provide support for holding up the other items added to the mug.
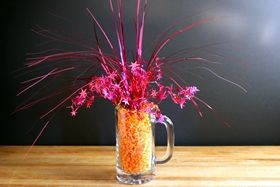
Next, I inserted four of the raspberry metallic star sprays into each mug.
Finally, I added the "Cheers" card topper at an angle--that way I didn't have to fuss with keeping it centered and straight. Next the stars and hearts were added.
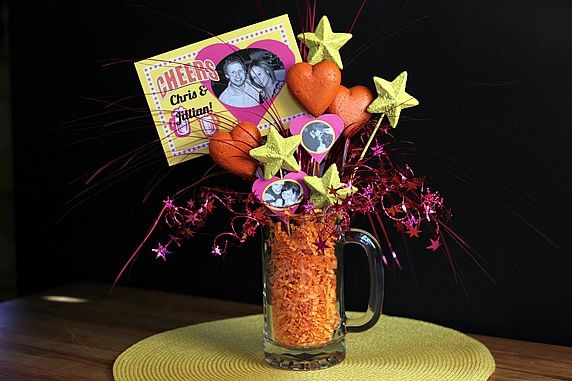
Repeated the procedure to create 6 centerpieces.
Gift mugs for the guests
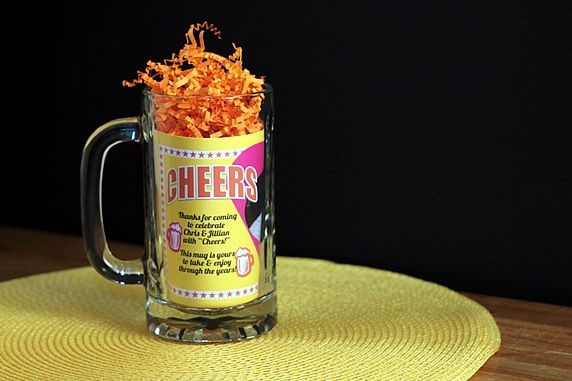
The centerpiece topper was modified by adding a short message/poem and inserted into each of the 50 gift mugs being given to guests at the rehearsal dinner.

The gift mugs were also filled with orange paper shreds.
Let the party begin!
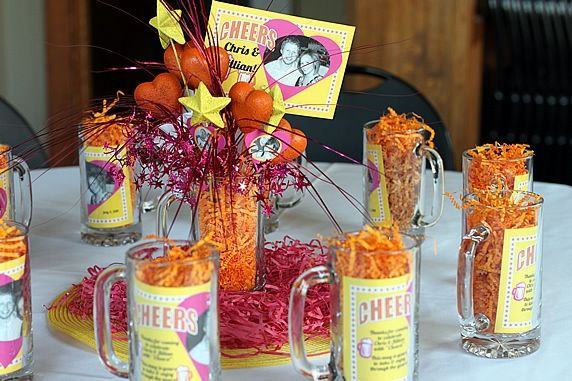
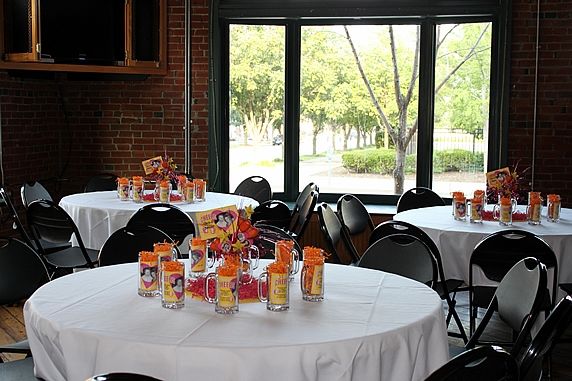
Here's how the centerpieces and gift mugs looked on the table. I found the yellow placemats at Target--they made a perfect base for the centerpieces. I also added some raspberry paper shreds around the centerpieces--more color to make the decorations POP.
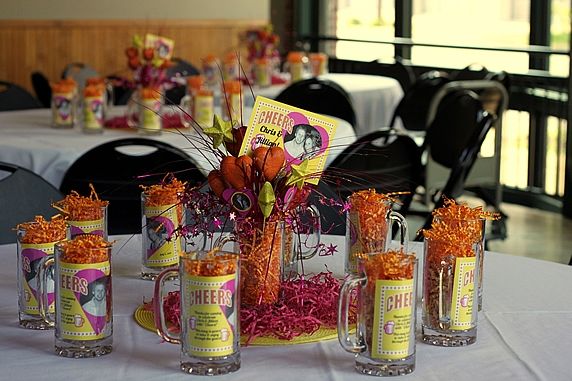
The gift mugs were placed on the tables for the guests to see when they arrived. Plus, they added some more decoration to the tables.
Becca (Chris's sister) made the beautiful, yummy cake that was served for dessert. She decorated it with the same monogram that was on the mugs. Perfect.
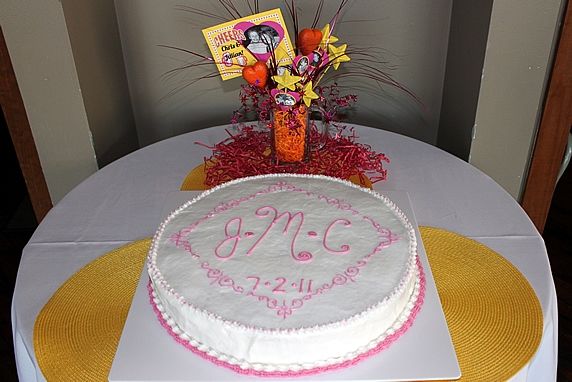
Cheers and many happy years to Chris and Jillian!

Make it a Yummy day!
Monica


 Pin on Pinterest